 Getting Started with the Internet of Things
After we released our first public Mountaineer 4.3 beta release, here are now the samples of my book adapted to NETMF 4.3 on the one hand, and to the Mountaineer Ethernet Mainboard hard-ware on the other hand (a Netduino Plus 2 version is due within the next couple of weeks).
NETMF 4.3 firmware and SDKs
To try out the samples, make sure that you have installed Microsoft's NETMF 4.3 SDK and the Mountaineer SDK in versions 4.3! This may also require the installation of a new version of the TinyBooter. See here for more details:
API changes since NETMF 4.2 QFE2
This version includes the changes that have become necessary for NETMF 4.2 QFE2, due to some changes in the framework APIs (analog inputs). For more details, see here.
Pachube, then Cosm, now Xively
Pachube has changed its name again (I wonder what they are smoking...), from Cosm to Xively. I have changed the samples and library accordingly.
One solution, instead of many individual projects
To make handling of the many sample projects easier, I put all of them in a single Visual Studio solution, along with the support libraries. To ensure that all samples end up above the libraries in the solution explorer, all project directories start with an underscore, e.g. "_HelloWorld".
The StartUp project, which is started when you hit F5 ("Start Debugging" in menu DEBUG), is shown in bold in the solution explorer. You can change it by pointing with the mouse at the project that you want to start, e.g. "_BlinkingLed", then selecting "Set as StartUp Project" in the menu that pops up when you click the right mouse button.
Before deploying an application, go to the project's properties, go to the ".NET Micro Framework" tab, and make sure that the Transport is USB, and that you see your device listet.
PC programs
The two PC programs (LedControllerClient and TestServer) are in a separate companion solution. They target the full desktop .NET framework.
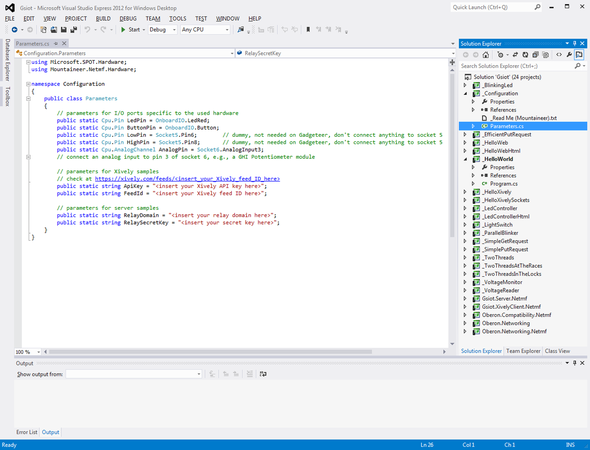
Configuration project
To make it easier to work with different boards, I have put the hardware-dependent pin defini-tions into a separate project called "Configuration". All samples that need such definitions get them from the Configuration.Parameters class. You can change this class as needed, e.g. to use the green or blue LED on a Mountaineer board, instead of the default red one.
Also, this is the place to set up your Xively API key and feed ID, as well as your Yaler domain and key. In this way, you don't need to change all samples, you only need to make the changes in one place.
After you make a change to Configuration.Parameters, hit the F6 key to rebuild all dependent samples.
Download
Download an archive with the samples from here.
I hope that you find the samples useful - if so, please add a review on Amazon.com :-)
Thanks and best regards
Cuno
Write a comment